Iron-on at home
Clear, simple checklist. Use numbers, not paragraphs.
- Lay the garment flat.
- Warm the area of fabric with the iron first so the surface is smooth and ready.
- Set iron to hot cotton (around 180°C). No steam.
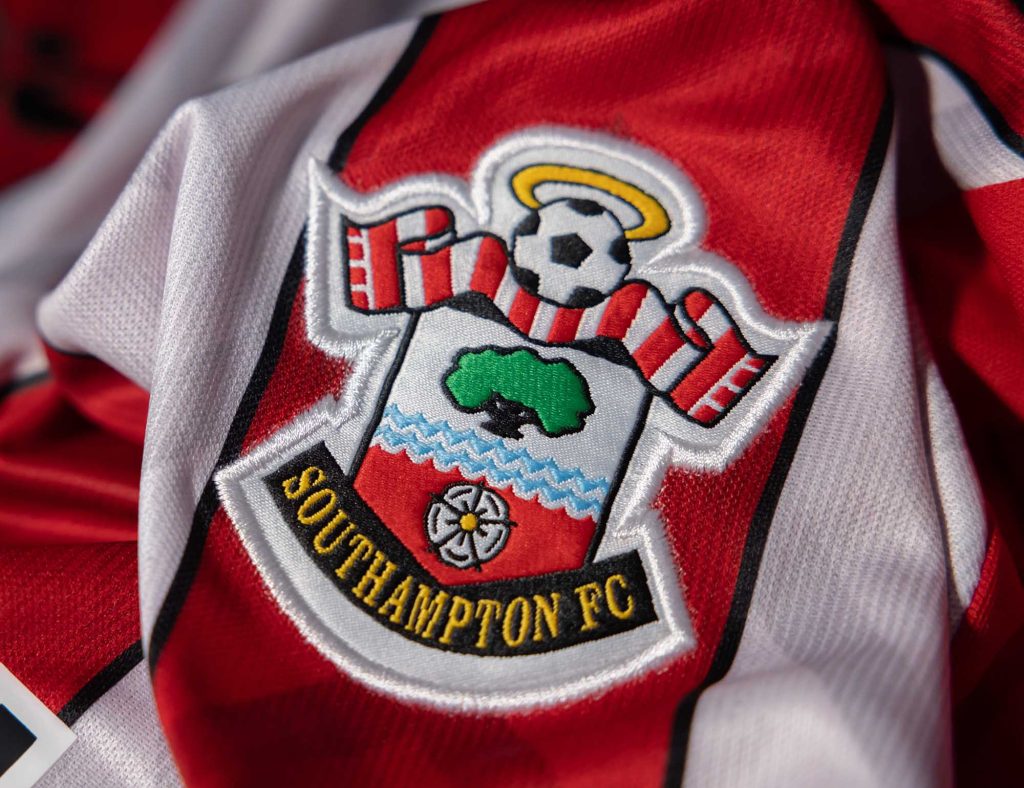
- Place the badge where you want it and cover with a thin cloth.
- Press firmly with the iron for 20–30 seconds, concentrating on the edges.
- If possible, carefully turn the garment inside-out and repeat for another 20 seconds.
- Let the garment cool completely before testing the bond. If edges lift, repeat the above steps. If still unsure, sew it on for peace of mind.
Works on most fabrics that can handle high heat. Do not use on nylon, leather, rainwear or very stretchy fabrics. For those, sew the badge on instead.
Caps are tricky due to curved surfaces — feel free to try, but keep the sewing kit nearby.
Using a heat-press or industrial machine
For wholesale customers, workwear suppliers, resellers, embroiders and promo businesses.
General guide: approx. 160°C for 25 seconds dwell time.
Adjust slightly depending on garment type.
If unsure, test with scrap fabric first.
FAQ
Yes. If applied correctly they’ll last as long as the garment. Cold or warm washes are best. If it ever lifts, you can always sew it on.
Absolutely. A quick and cost-effective way to refresh uniforms or rebrand old stock. Just choose a patch slightly larger than the old logo and heat-seal (or sew) straight over the top.
Nylon, leather, rainwear, highly stretchy fabrics. These can scorch or won’t bond. Stick to cotton, polycotton or similar.
If you want maximum durability, yes. Many customers heat-seal first to position it, then stitch around the edge.
Definitely. We’ll send a free sample pack — you can try ironing one onto your own garment to see how it bonds.
Want to test a heat-seal badge at home?
Try before you commit.
We’ll send you sample badges (including heat-seal) so you can feel the quality and test the application on your own garment.